例子
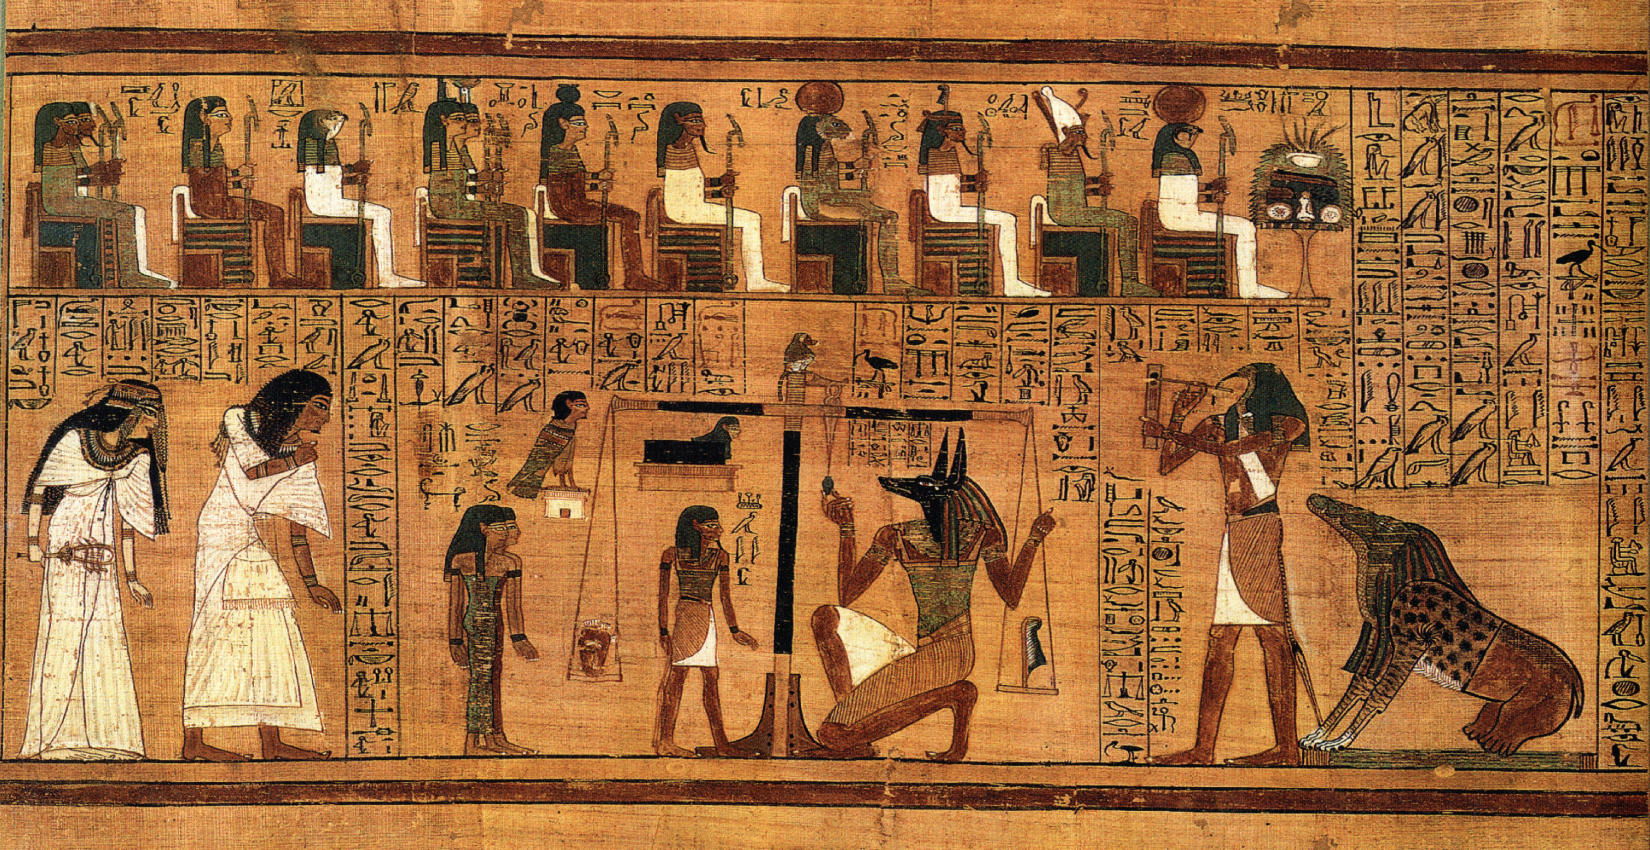 Figure 3.1 Papyrus of Ani
 storyboard 的價值在把時間序列與轉折畫出來。你不需要先畫 UI,你先把故事的鏡頭順序釘住。
Source in book: Chapter 3
 Figure 3.2 AI Therapist storyboard
 把故事拆成鏡頭之後,你可以逐格檢查:使用者在每一步想做什麼,系統提供了什麼,AI 的角色是否清楚。
Source in book: Chapter 3
 Figure 3.3 Mild Social Anxiety storyboard
 同一類題目換一個情境,故事會露出不同的問題:輸入從哪裡來、信任怎麼建立、payoff 是否足夠。
Source in book: Chapter 3
方法(照原書順序:先畫出故事,再把 AI 放進去)
 Figure 3.4 Establishing shot
 先用 establishing shot 把情境釘住:在哪裡、什麼時間、使用者帶著什麼狀態開始。
Source in book: Chapter 3
 Figure 3.5 Establishing shot examples
 建立場景時,重點是把環境與目標畫到可討論,而不是畫得精緻。
Source in book: Chapter 3
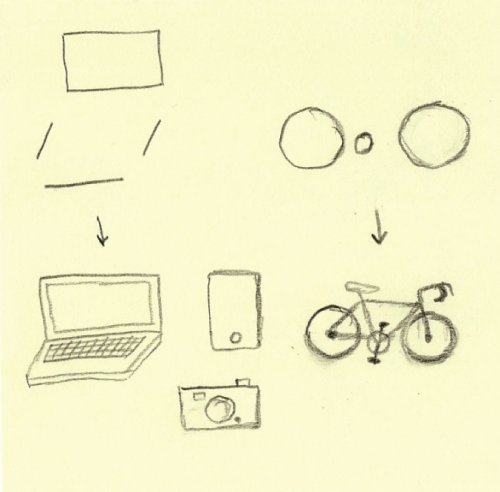 Figure 3.6 Drawing things
 你可以用非常簡單的線條把物件畫出來。物件的存在是為了讓後面的動作與資訊交換更清楚。
Source in book: Chapter 3
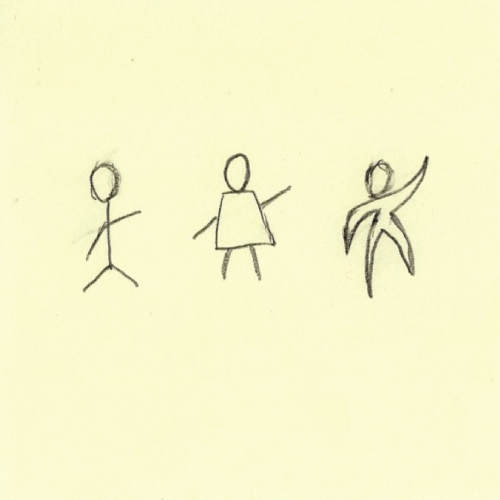 Figure 3.7 Simple person drawing styles
 人物不需要一致畫風,只要能在鏡頭間被辨識,並能傳達狀態變化。
Source in book: Chapter 3
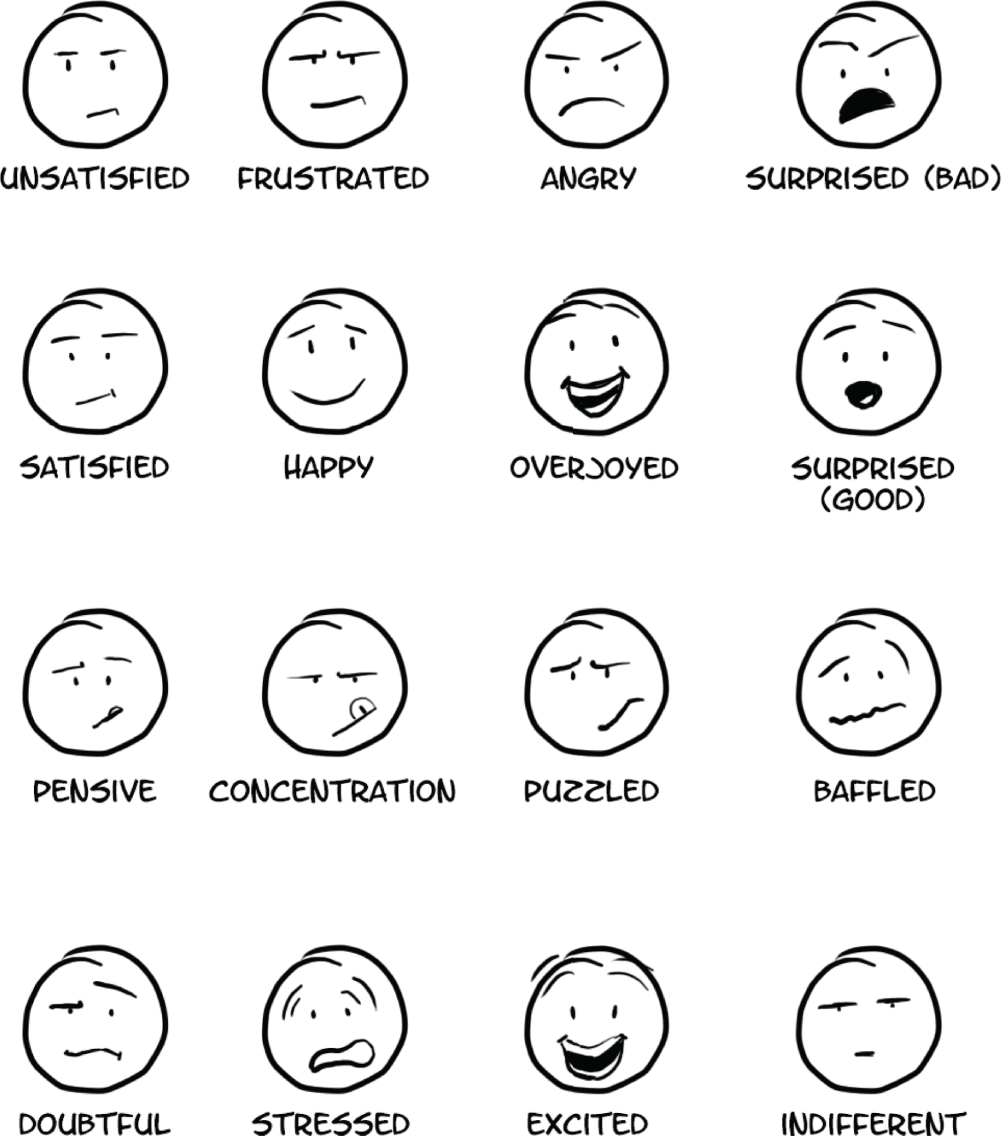 Figure 3.8 Eyebrows communicate nuance
 情緒細節常決定 AI 介入是否合理。用最少的表情元素把感受畫出來,討論會更精準。
Source in book: Chapter 3
 Figure 3.9 Action-to-Action transition
 把動作拆成連續鏡頭,能看見資訊從哪裡來、下一步需要什麼提示或控制。
Source in book: Chapter 3
 Figure 3.10 Action-to-Action transition example
 動作轉場越清楚,你越容易在正確位置插入 AI,而不是事後用更多功能補洞。
Source in book: Chapter 3
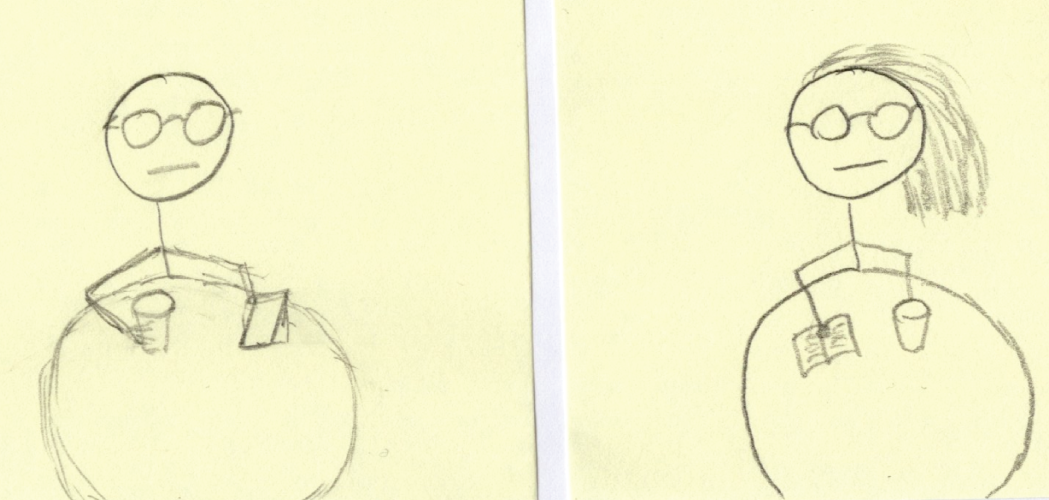 Figure 3.11 Subject-to-Subject transition
 不同主體之間的轉場,常是信任與責任分界的地方:誰做決定、誰提供建議。
Source in book: Chapter 3
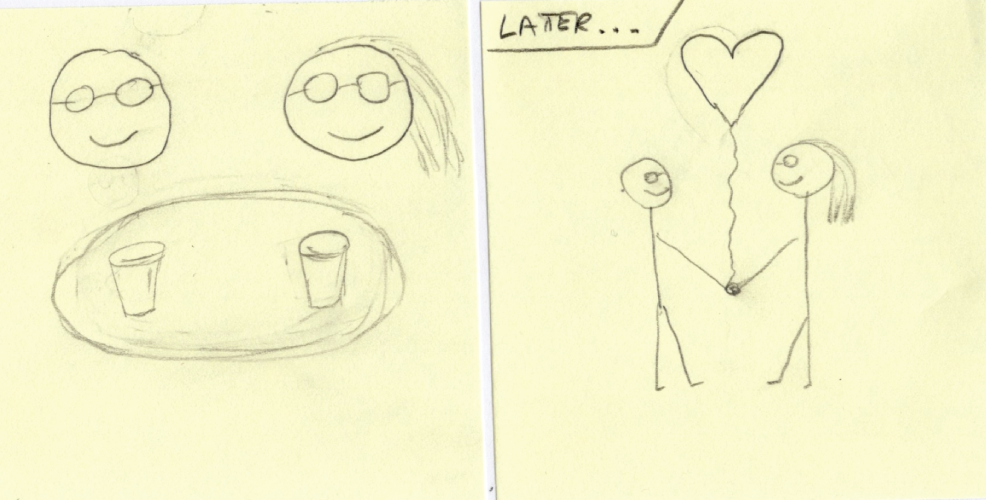 Figure 3.12 Scene-to-Scene transition
 跨場景時要特別留意狀態是否延續:使用者記得什麼、系統帶著什麼上下文。
Source in book: Chapter 3
 Figure 3.13 Subject-to-AI transition
 把『從一般互動切到 AI 介入』畫成一格。這一格常是最多誤解與最容易跳躍的地方。
Source in book: Chapter 3
 Figure 3.14 Subject-to-AI transition examples
 AI 介入的理由要能被一句話說清楚,否則使用者會覺得 AI 是硬塞進流程。
Source in book: Chapter 3
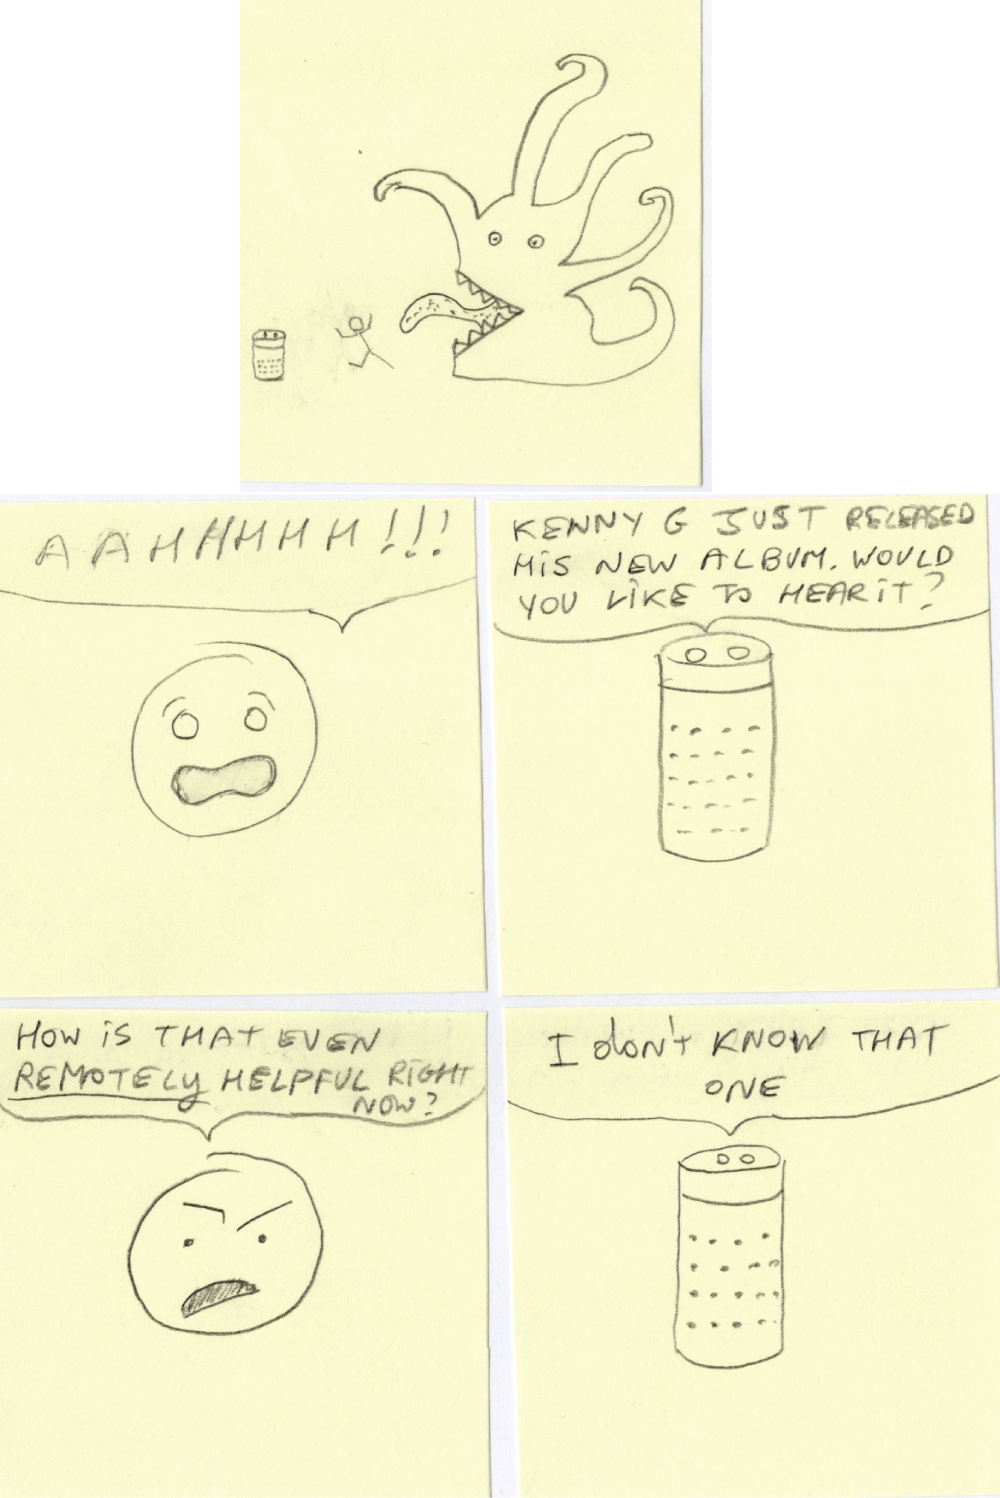 Figure 3.15 Subject-to-AI transition with Alexa
 不同介面型態(語音/視覺)會改變轉場成本。把介面限制畫出來,決策會更務實。
Source in book: Chapter 3
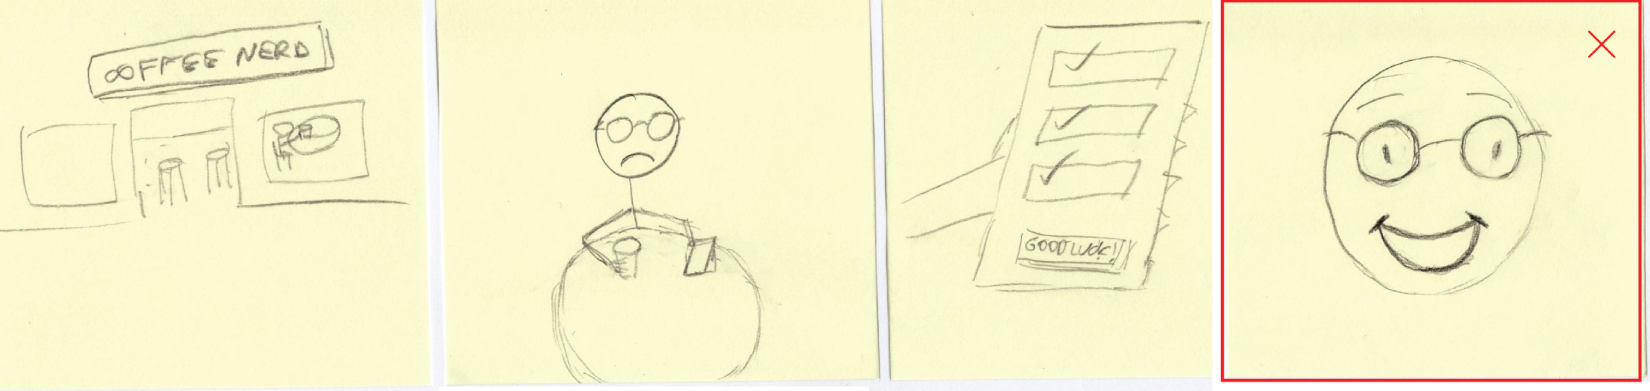 Figure 3.16 Misaligned payoff
 payoff 跟使用者目標對不起來時,AI 的存在感會變成干擾。
Source in book: Chapter 3
 Figure 3.17 Reasonable payoff
 payoff 清楚時,AI 介入就有理由:它讓任務更快、更穩、更安全,或讓決策變得更容易。
Source in book: Chapter 3
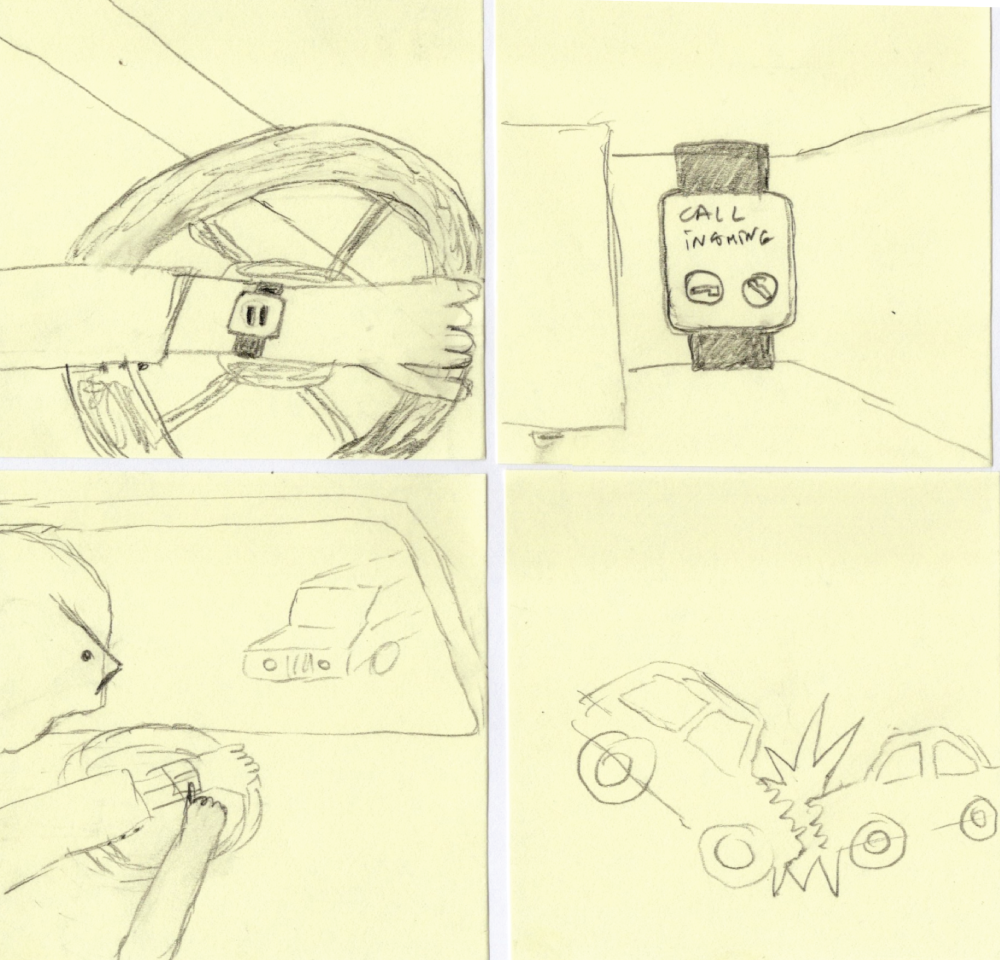 Figure 3.18 Current UX is dangerous
 用 storyboard 檢查高風險情境時,先把最糟的結果畫出來,護欄與替代流程才會有落點。
Source in book: Chapter 3
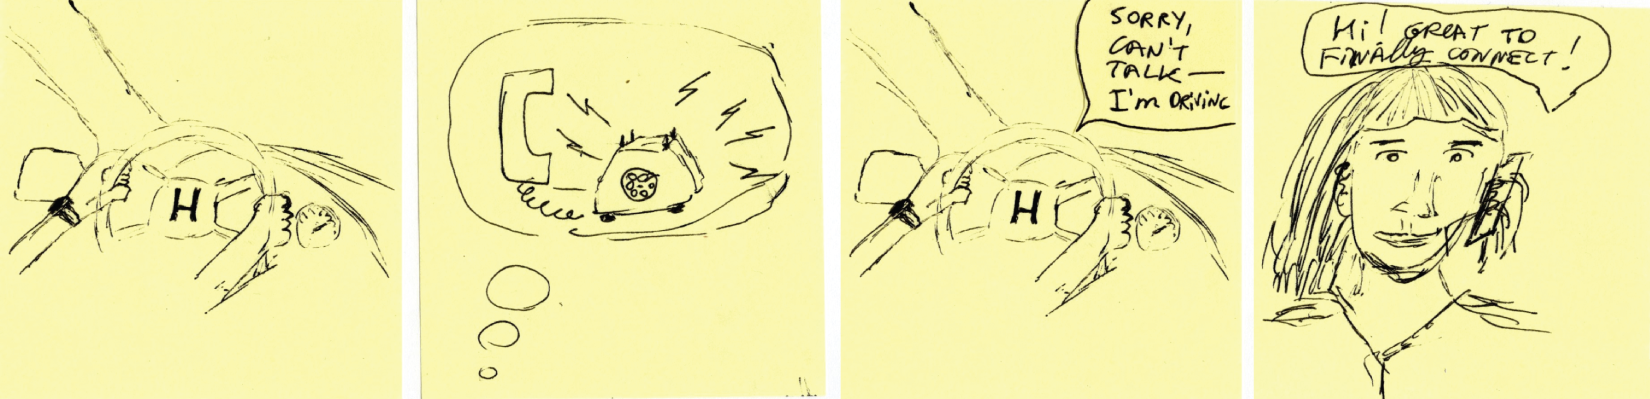 Figure 3.19 AI-first UX alternative
 把 AI 放進流程的合理性,常來自風險吸收:它讓使用者在分心場景仍能完成任務。
Source in book: Chapter 3
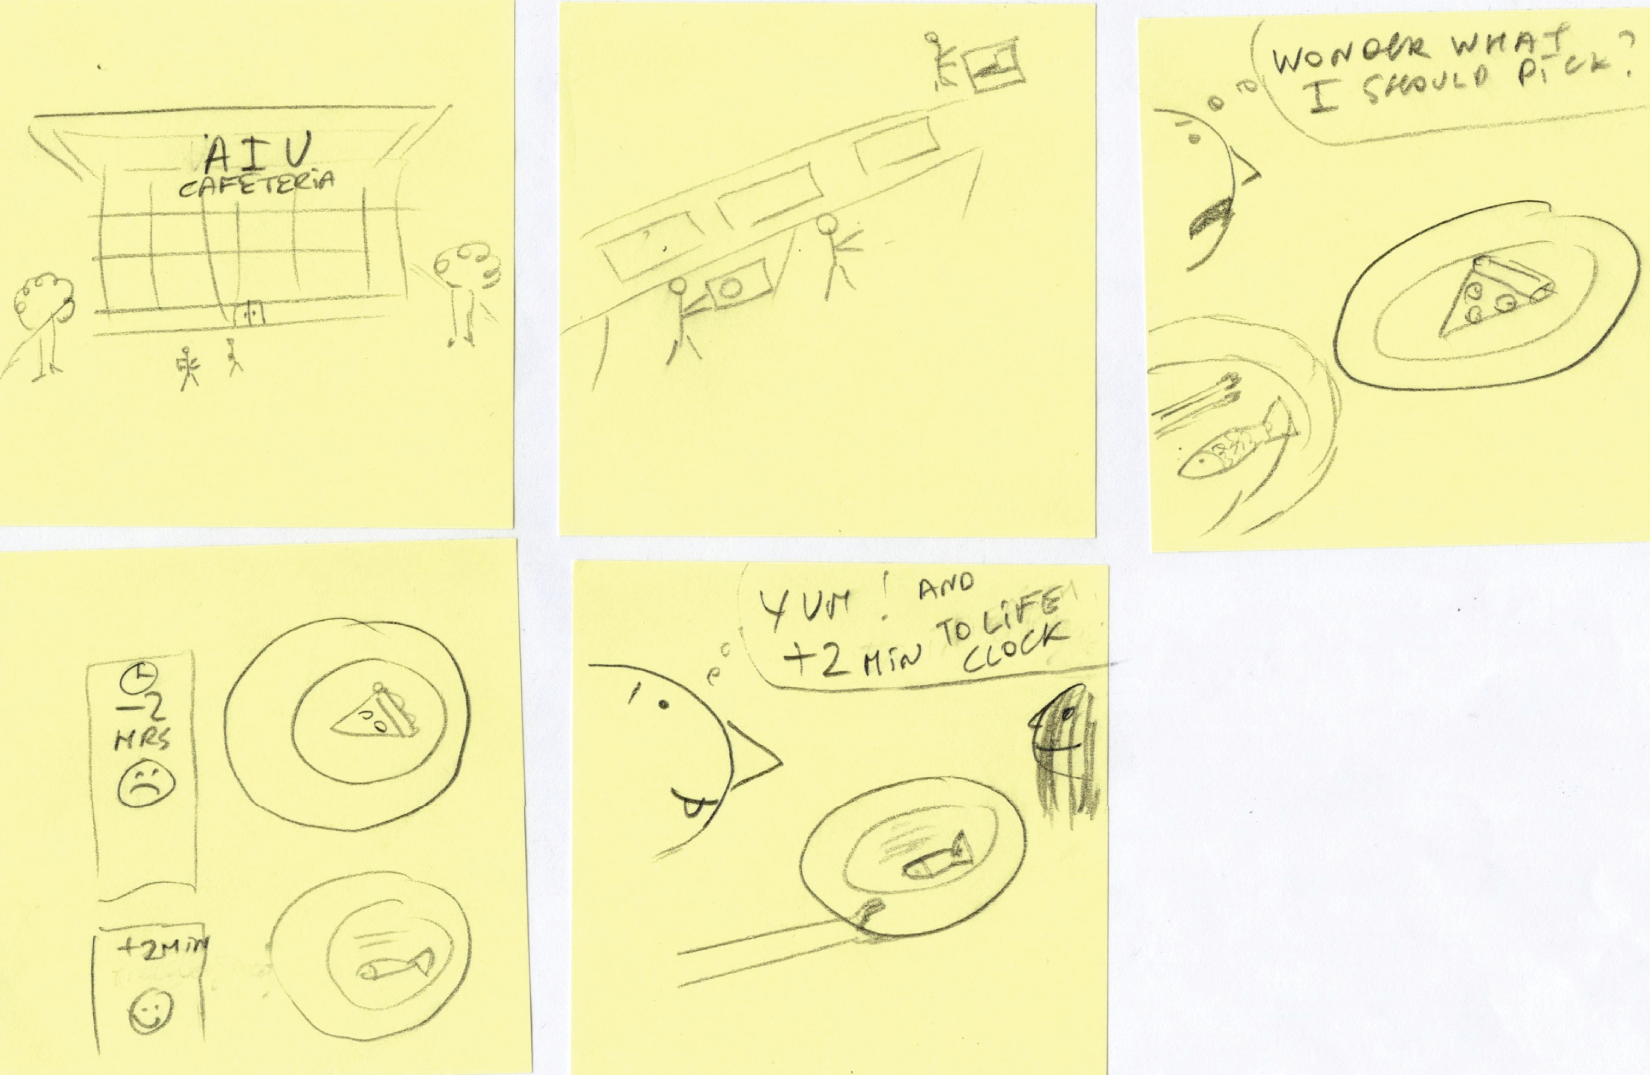 Figure 3.20 Storyboarding exercise example
 練習時可以先用一個現成例子對齊顆粒度:每格只要能支持討論與挑錯就夠。
Source in book: Chapter 3
練習
- 選一個你正在做的題目(先用一句話描述)。
- 畫 6 格:1 格 establishing shot + 4 格 transitions + 1 格 payoff。
- 把 subject-to-AI transition 明確畫成 1 格,並在那格寫出「為什麼現在需要 AI」。
- 用下面檢核看一次。
如果你想要一個固定格式來畫,可以直接用下面這張 6 格 worksheet。先把每格的文字欄位填滿,再回頭補上最少的草圖線條。
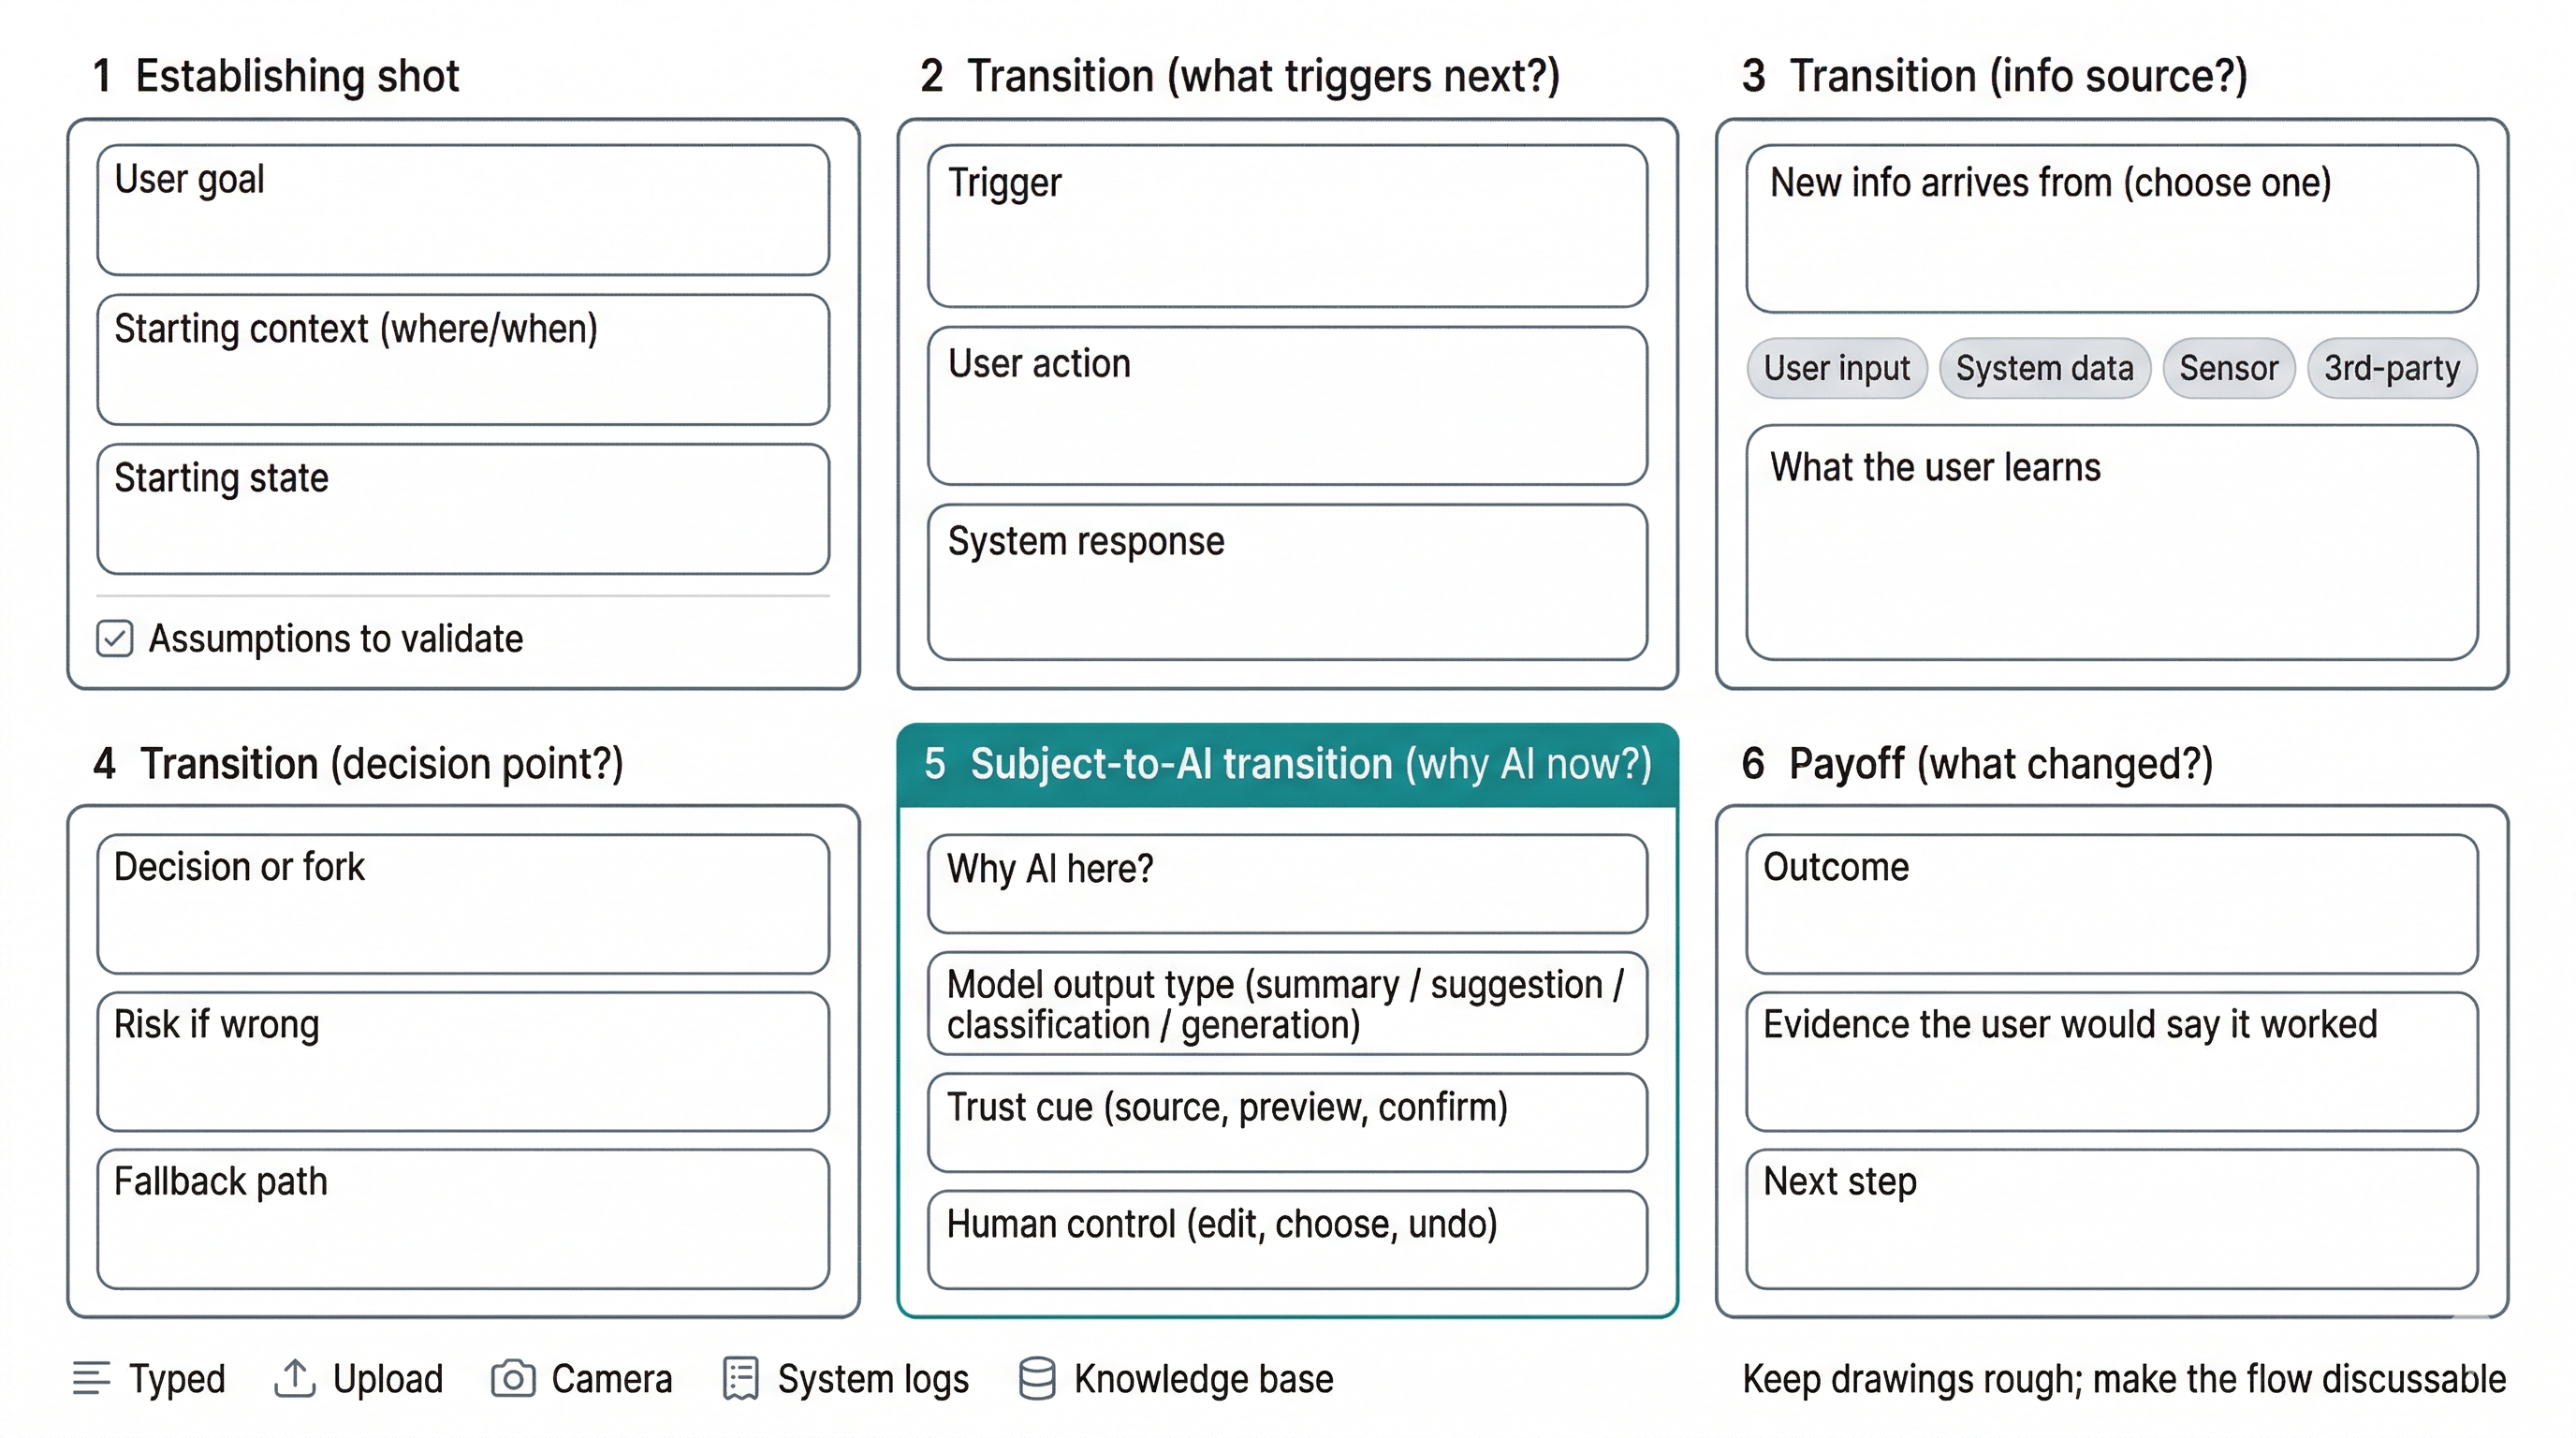 教學圖:6 格 storyboard worksheet
 用固定欄位把每一格的目標、情境、資訊來源、AI 介入理由與 payoff 寫清楚,討論會更快進入挑錯與修正。
補充: Storyboarding figures